How to get invoice/receipt for App Store purchases.

If you’ve ever needed an invoice for an app or service you purchased from the App Store, you’re in luck—Apple makes it easy to access and print them. Here’s a simple step-by-step guide to help you:

Visit Apple’s Report a Problem Website

Go to https://reportaproblem.apple.com in your web browser.

Log in to Your Apple Account

Sign in using your Apple ID credentials. Make sure you use the same account you used to make the purchase.

Find Your Purchase

Once logged in, you’ll see a list of all your recent App Store purchases. Browse through the list to locate the app or service you need an invoice for.

Expand Purchase Details

Click the expand icon button on the specific purchase to reveal more details about it.

View the Invoice

Look for the “View Invoice” button and click it. This will open the invoice for that purchase.

Print the Invoice

Once the invoice appears, you can print it by selecting the print option in your browser or saving it as a PDF for your records.

How to Remove Line Breaks from Text on Your Mac with Text Workflow

Do you need to get rid of unwanted line breaks in your text? With Text Workflow, my latest Mac and iOS app, you can do this quickly and easily. Here’s how:

  1. Download and Install Text Workflow: If you don’t have Text Workflow yet, you can find it on the Mac App Store. Install it on your Mac.

    https://apps.apple.com/us/app/text-workflow-text-converter/id1600520682

  2. Paste Your Text: Open Text Workflow and paste your text into the input text field. You can do this by copying your text and pressing Command + V in the app's input field.

  3. Select the Action: Look for the "Remove Line Breaks" action in the action list. Click on it.

  4. See the Results: Once you select "Remove Line Breaks," your text in the results text field will instantly update without line breaks.

Why Use Text Workflow?

Text Workflow simplifies text editing tasks like removing line breaks, saving you time and hassle. You can also use it to chain multiple actions together to create your custom workflows.

Download Text Workflow from the Mac App Store and make your text editing easier!

How to open specific folder path on macOS

Sometimes we have a pathname and we want to view the file or folder in Finder. Let's say that we want to open the location of the music on music library and we know that the path of the location is

~/Music/Music/Media.localized/Music

To open the pathname we have to open Finder app and on "Go" menu choose "Go to Folder" option (or use the ⇧⌘G keyboard shortcut).

In the field that will appear you can type or paste the pathname. Finder will suggest a list of locations related to the path. You can select from the list or just hit enter to open the folder of the typed path.

This way we can even open folders that are hidden on Finder, like:

~/Library

Open specific folder path on macOS

Convert your audio files with my new app!

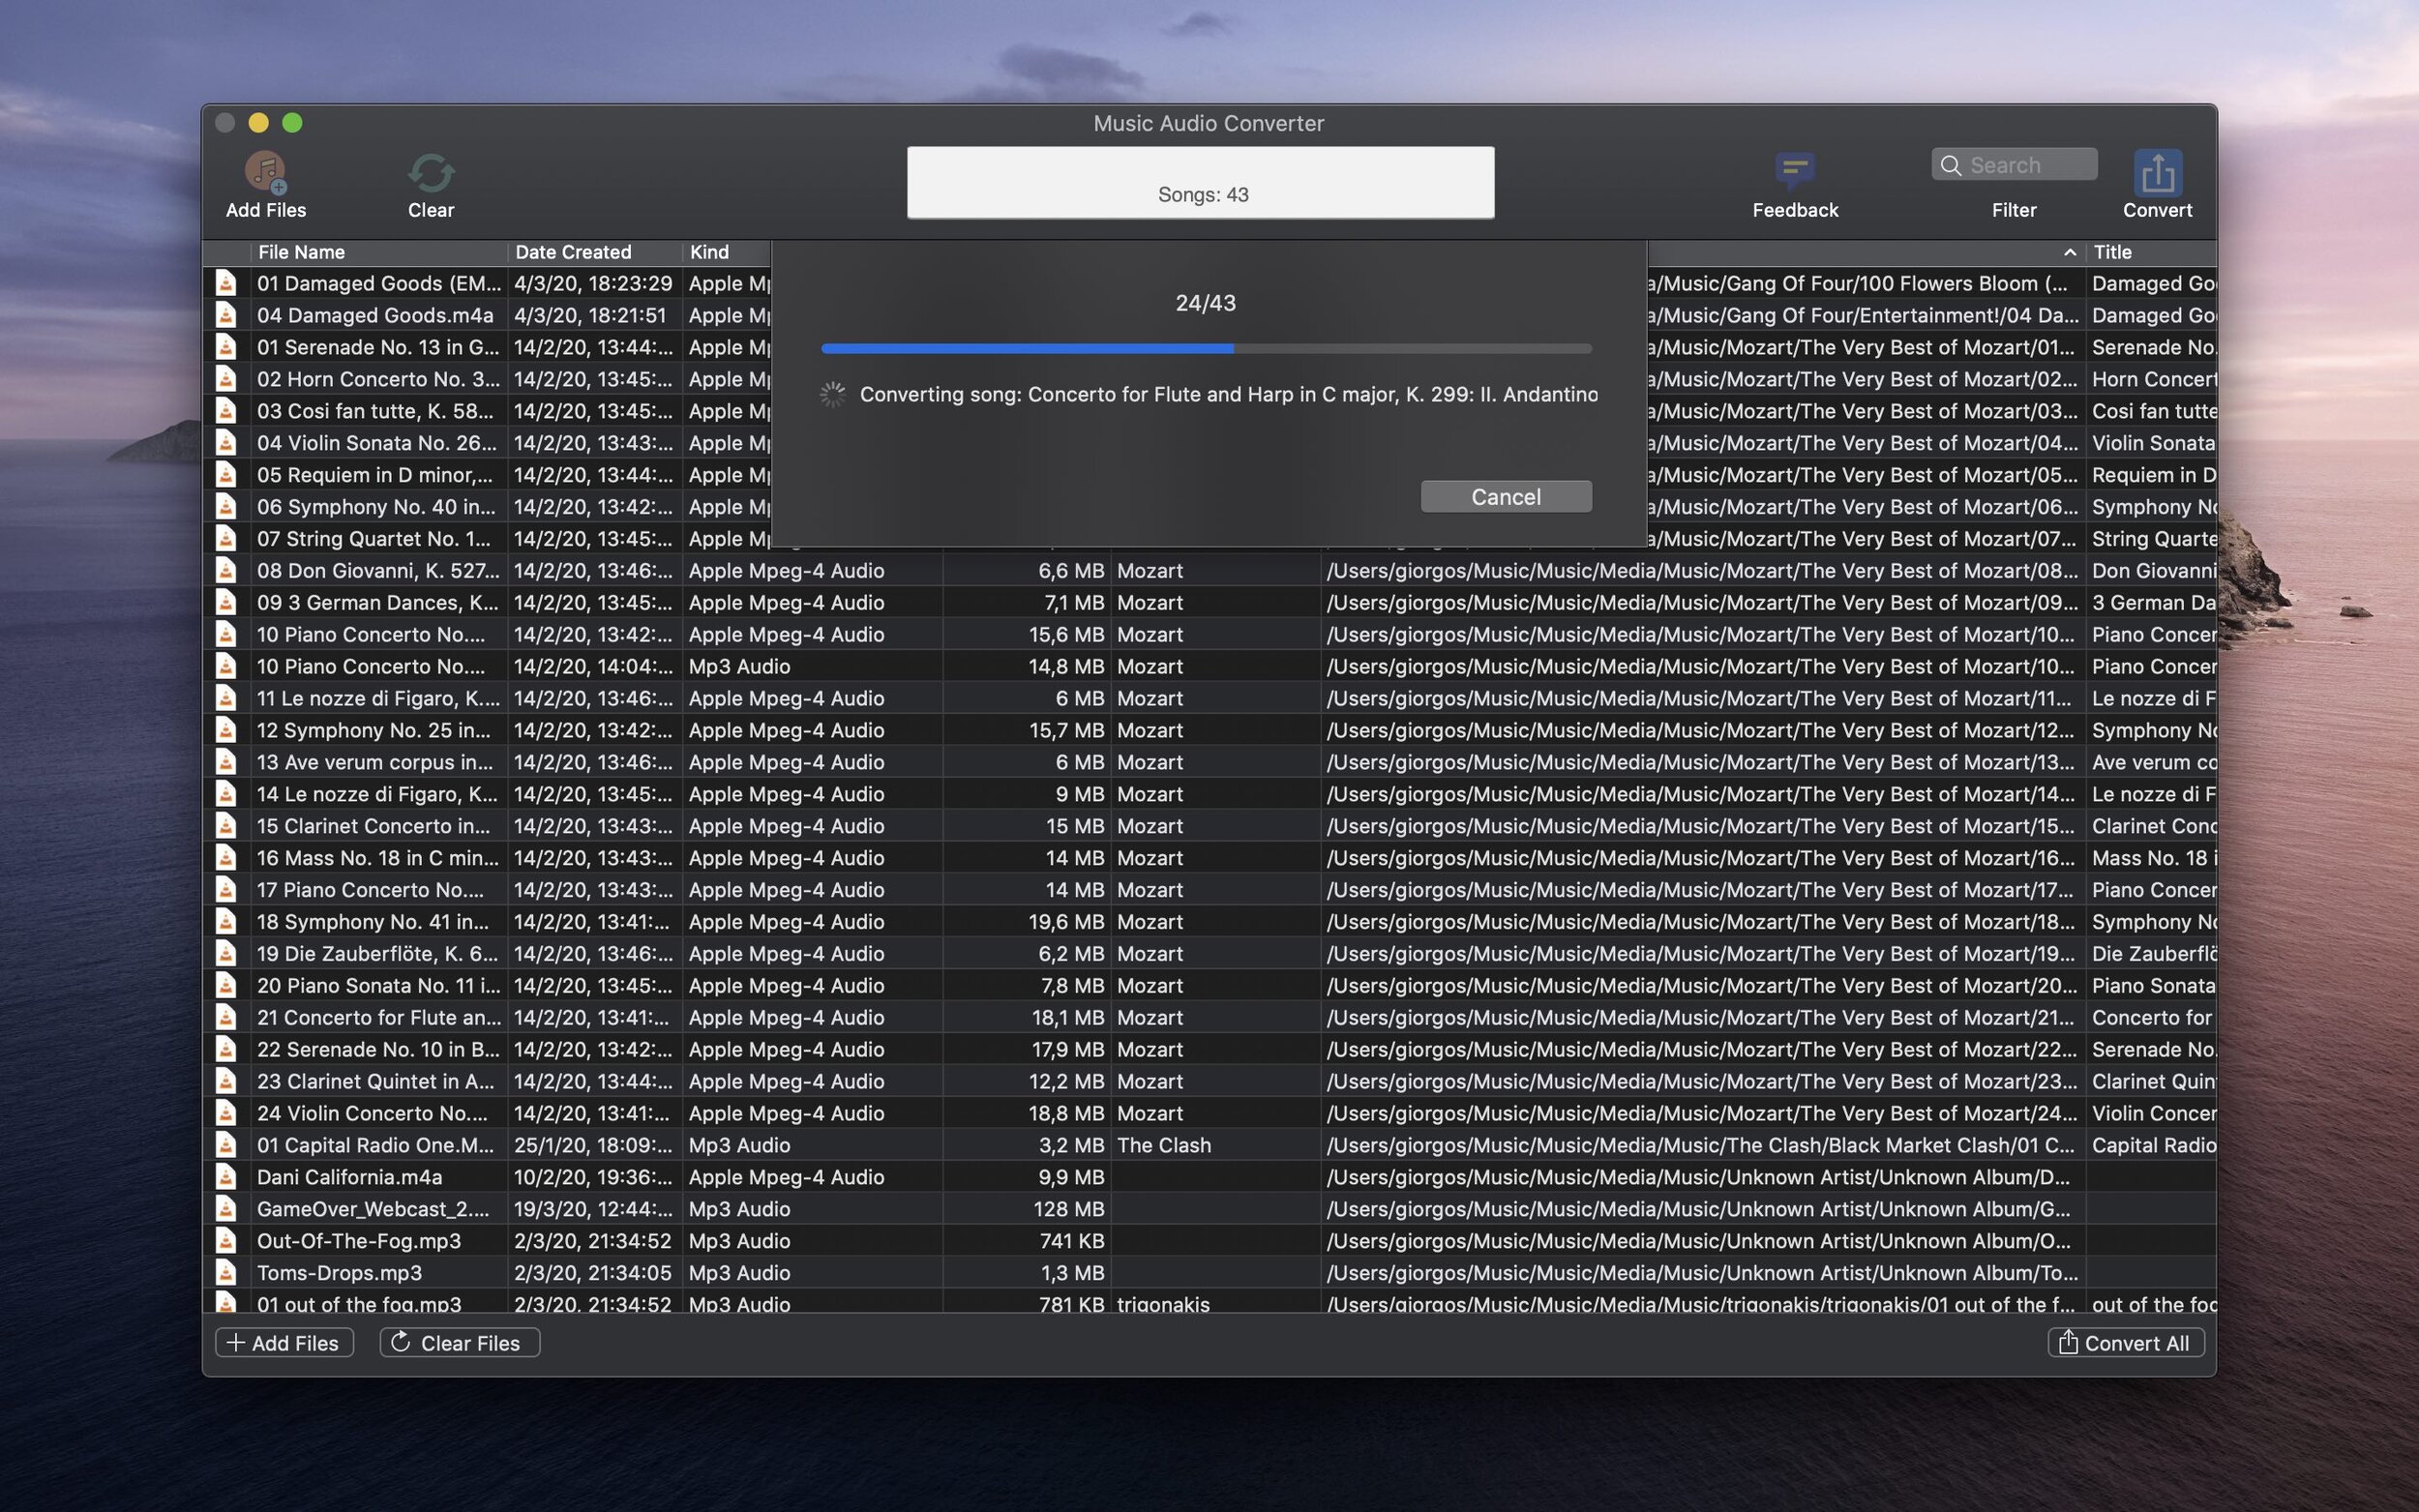
You can now download my new Music Audio Converter app.

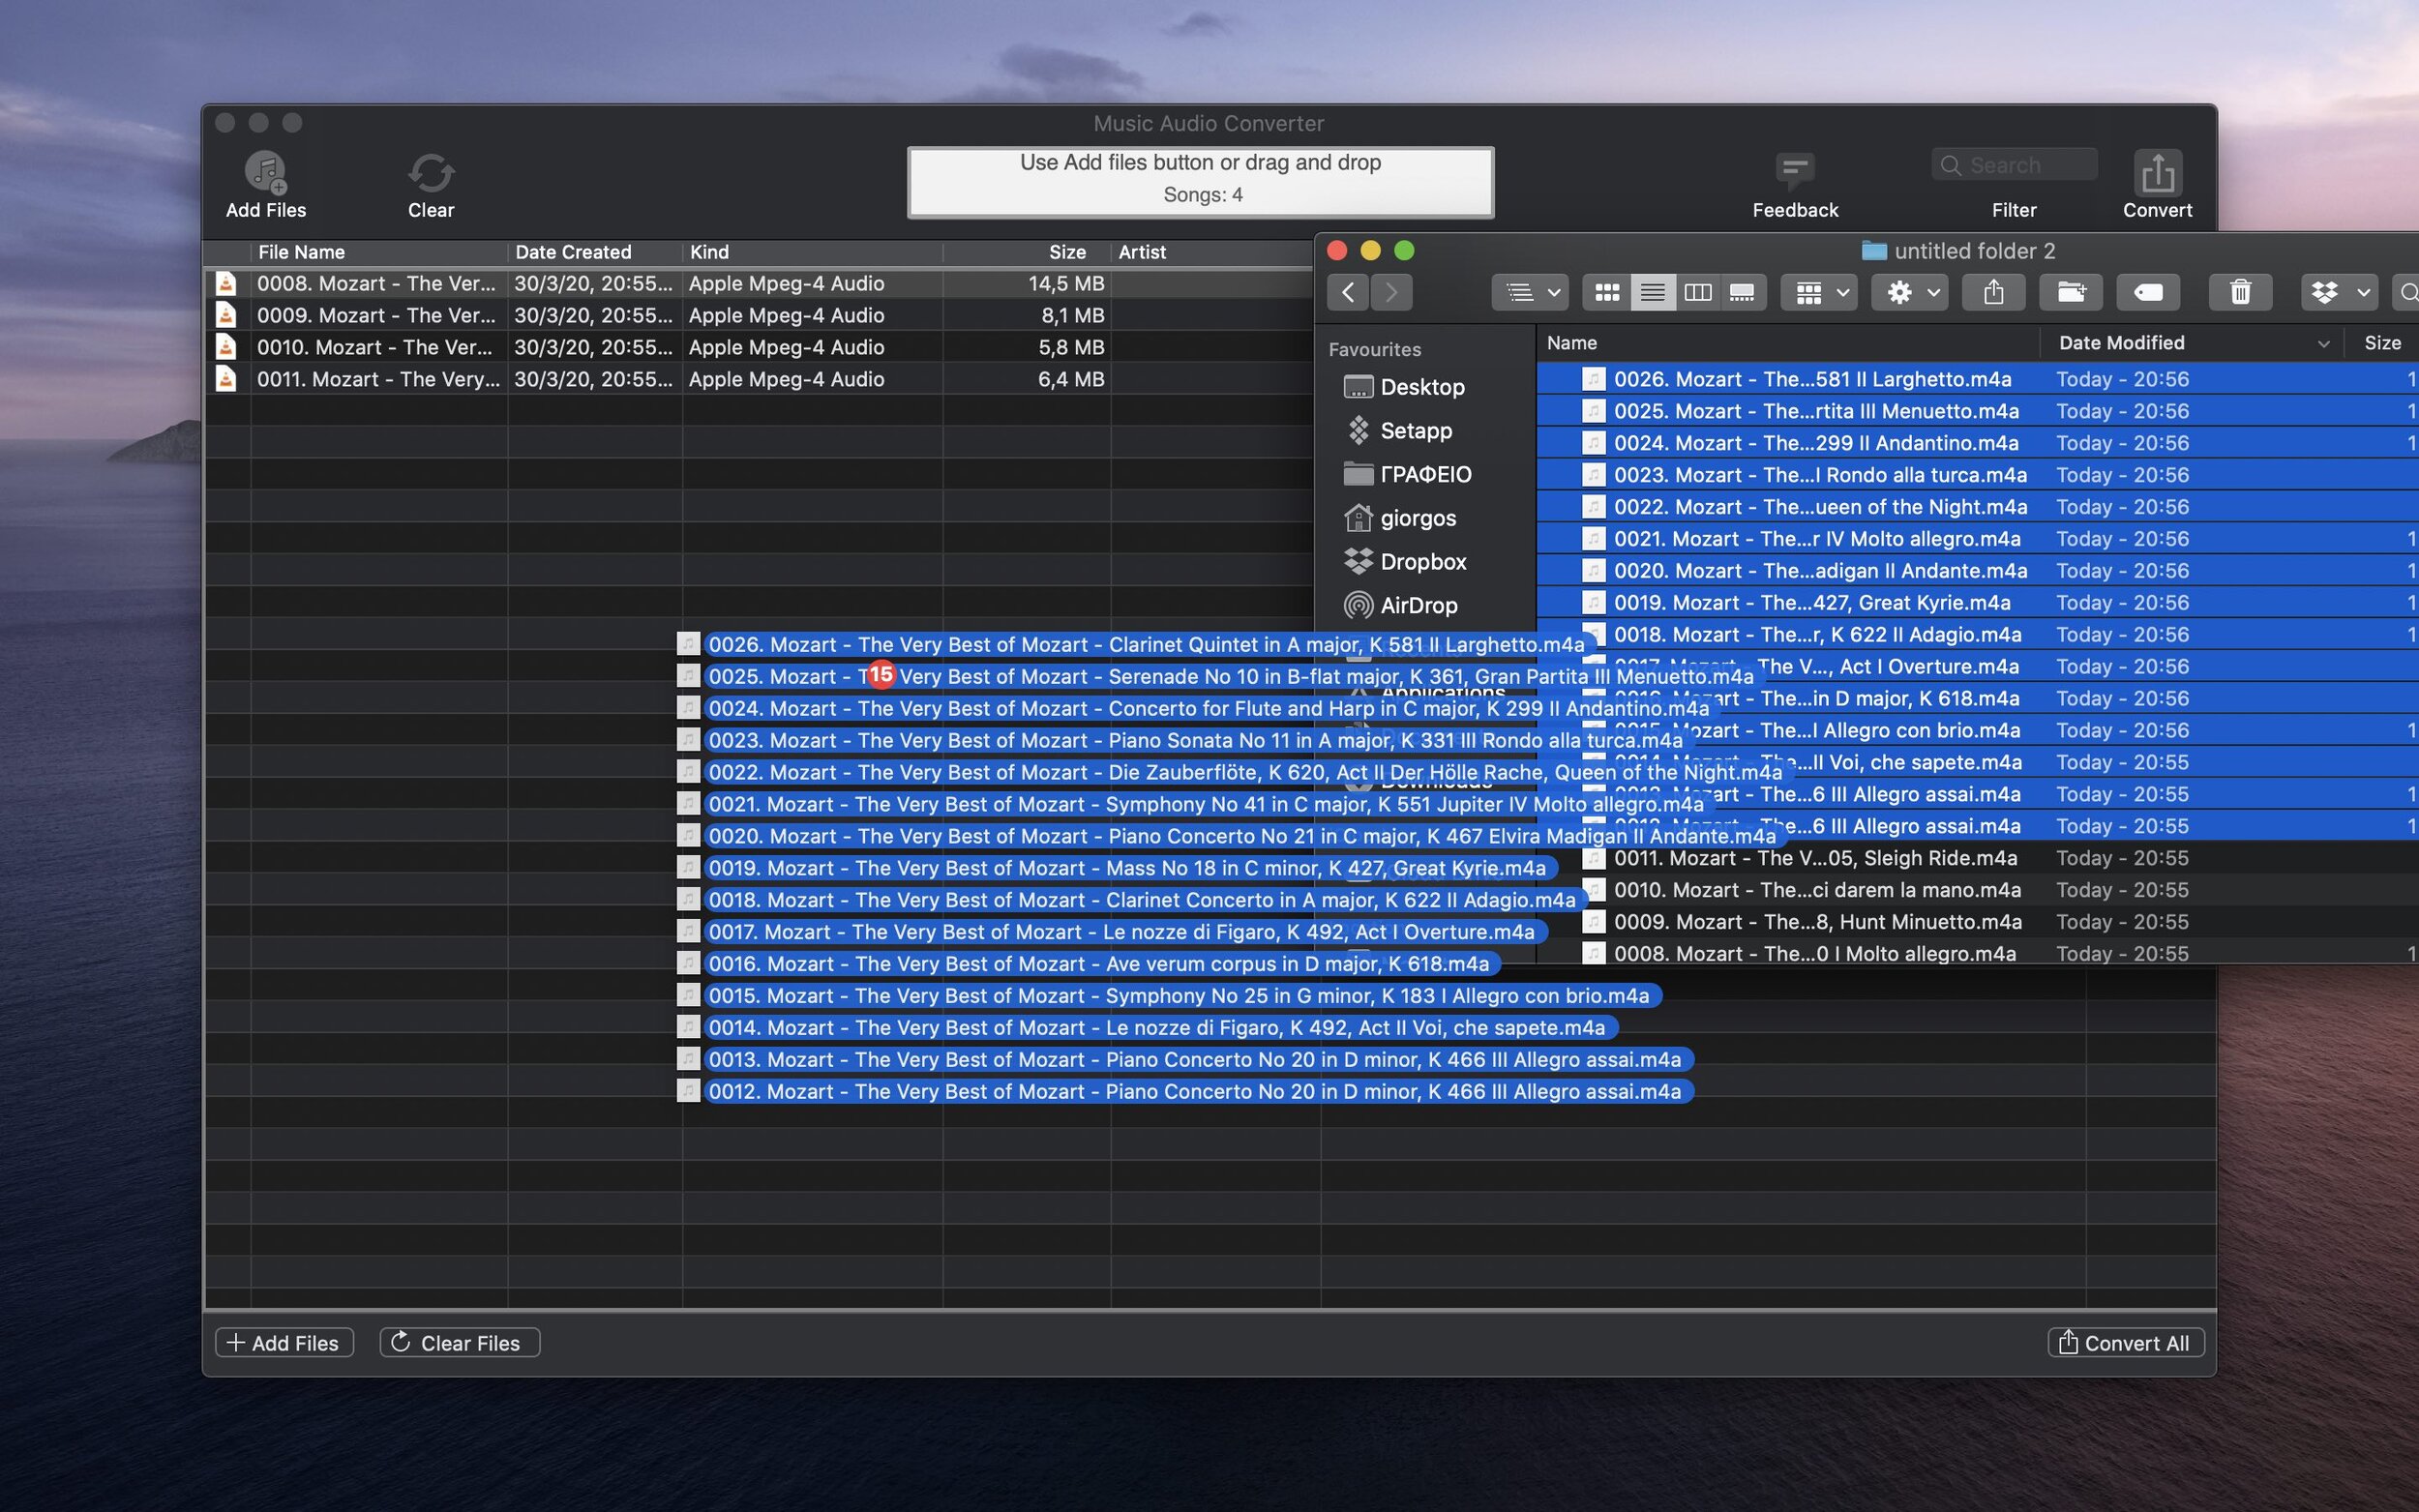
With Music Audio Convert you can convert any kind of audio format to MP3 or AAC file. With Batch Conversion: Just choose or drag and drop the audio files you want to convert, choose MP3 or AAC output format and select folder to save new files. The app supports many audio input formats like: WAV, AIFF, OGG, FLAC, CAF and many more.

You can download the app for free for a limited time via Mac app store.

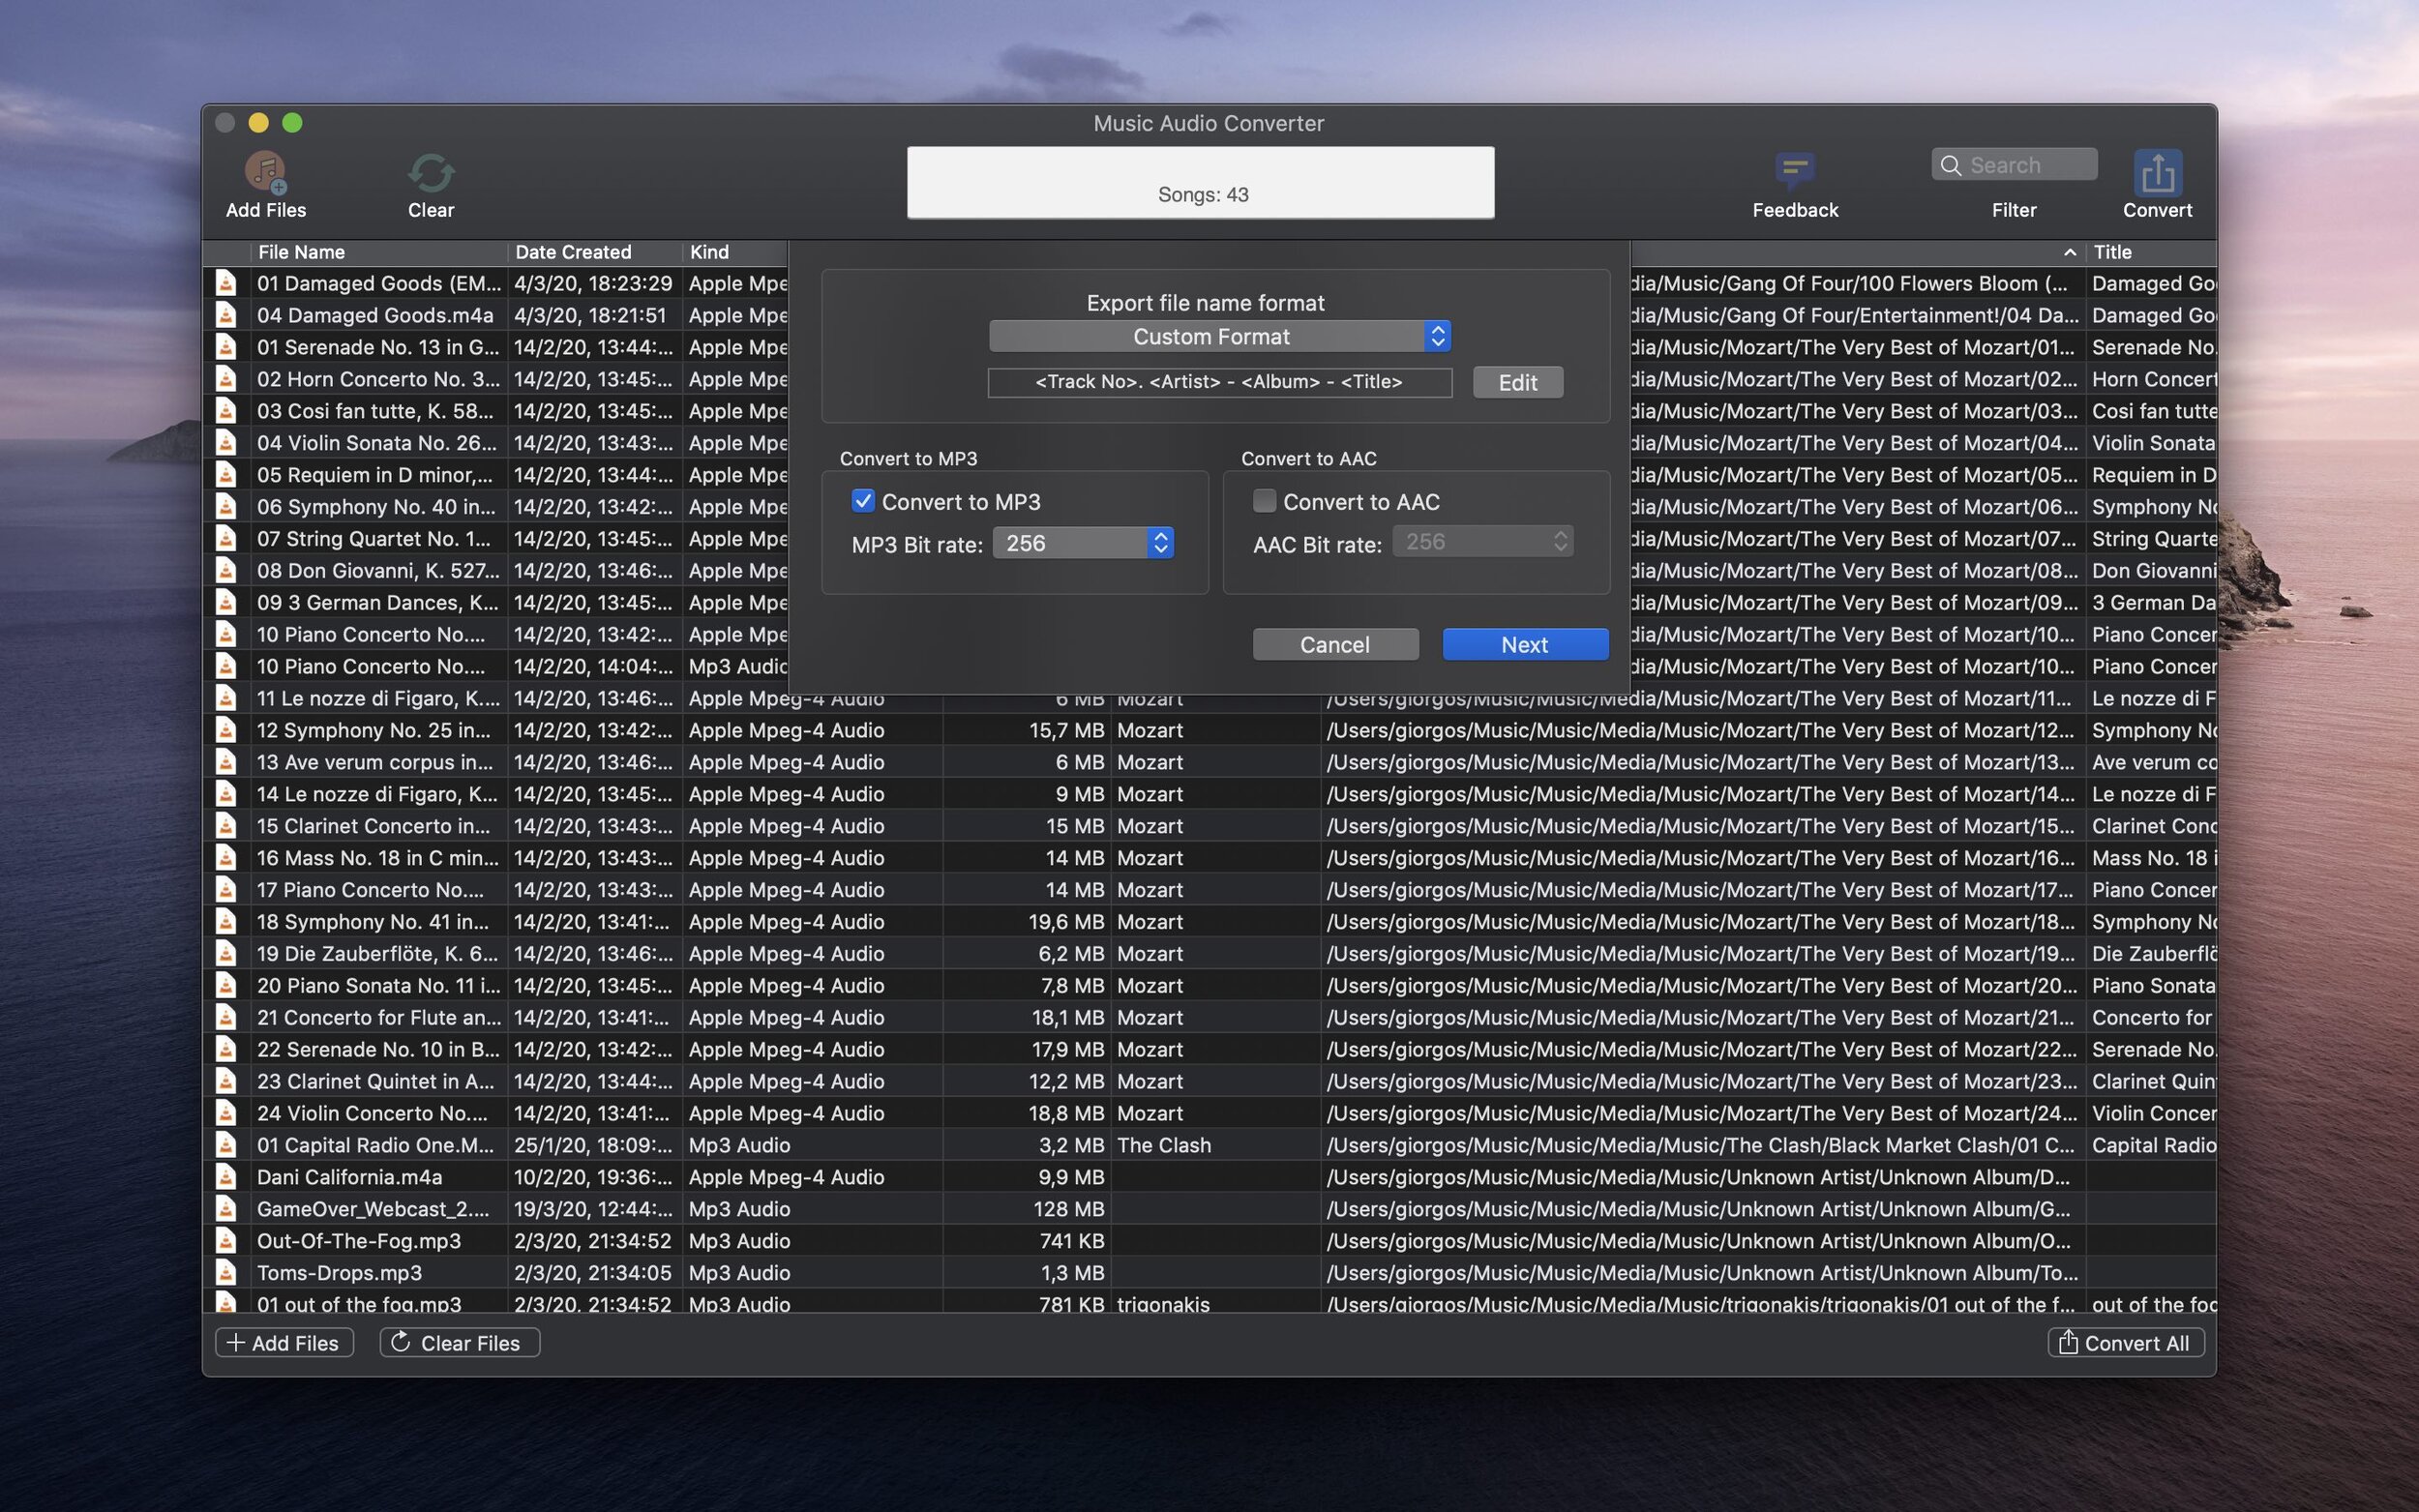
Choose file name format: You can choose if you want to keep original file name or use file metadata to rename files. This way all output files can have a file name like:

{artist} - {album} - {title}.mp3

You can also create a custom file name format.

How to enable spotlight indexing on a network volume

File list export app exports metadata from Spotlight index of OS X, if you try to get info for files on a network drive or any folder that spotlight index is not enabled (by default spotlight index is not enabled for network drives)  the app will not return all the metadata about the files (only some basic like file name, date modified, date created, kind, size, path).

You can check if spotlight index is enabled for a folder with this terminal command:
sudo mdutil -s <folder path>
e.g.  sudo mdutil -s /Volumes/music
This command will return "Indexing enabled." if index is enabled.

If not you can enable spotlight metadata index with this command :
sudo mdutil -i on <path to folder>

Then execute: sudo mdutil -E <volume path>
to rebuild the metadata
It may take some time to index all your files.

If you do this and then (after some hours if you have many files) you can run the File list export app, and get the metadata for all your files.

AppIcon5122s.png

File list export app

List your files

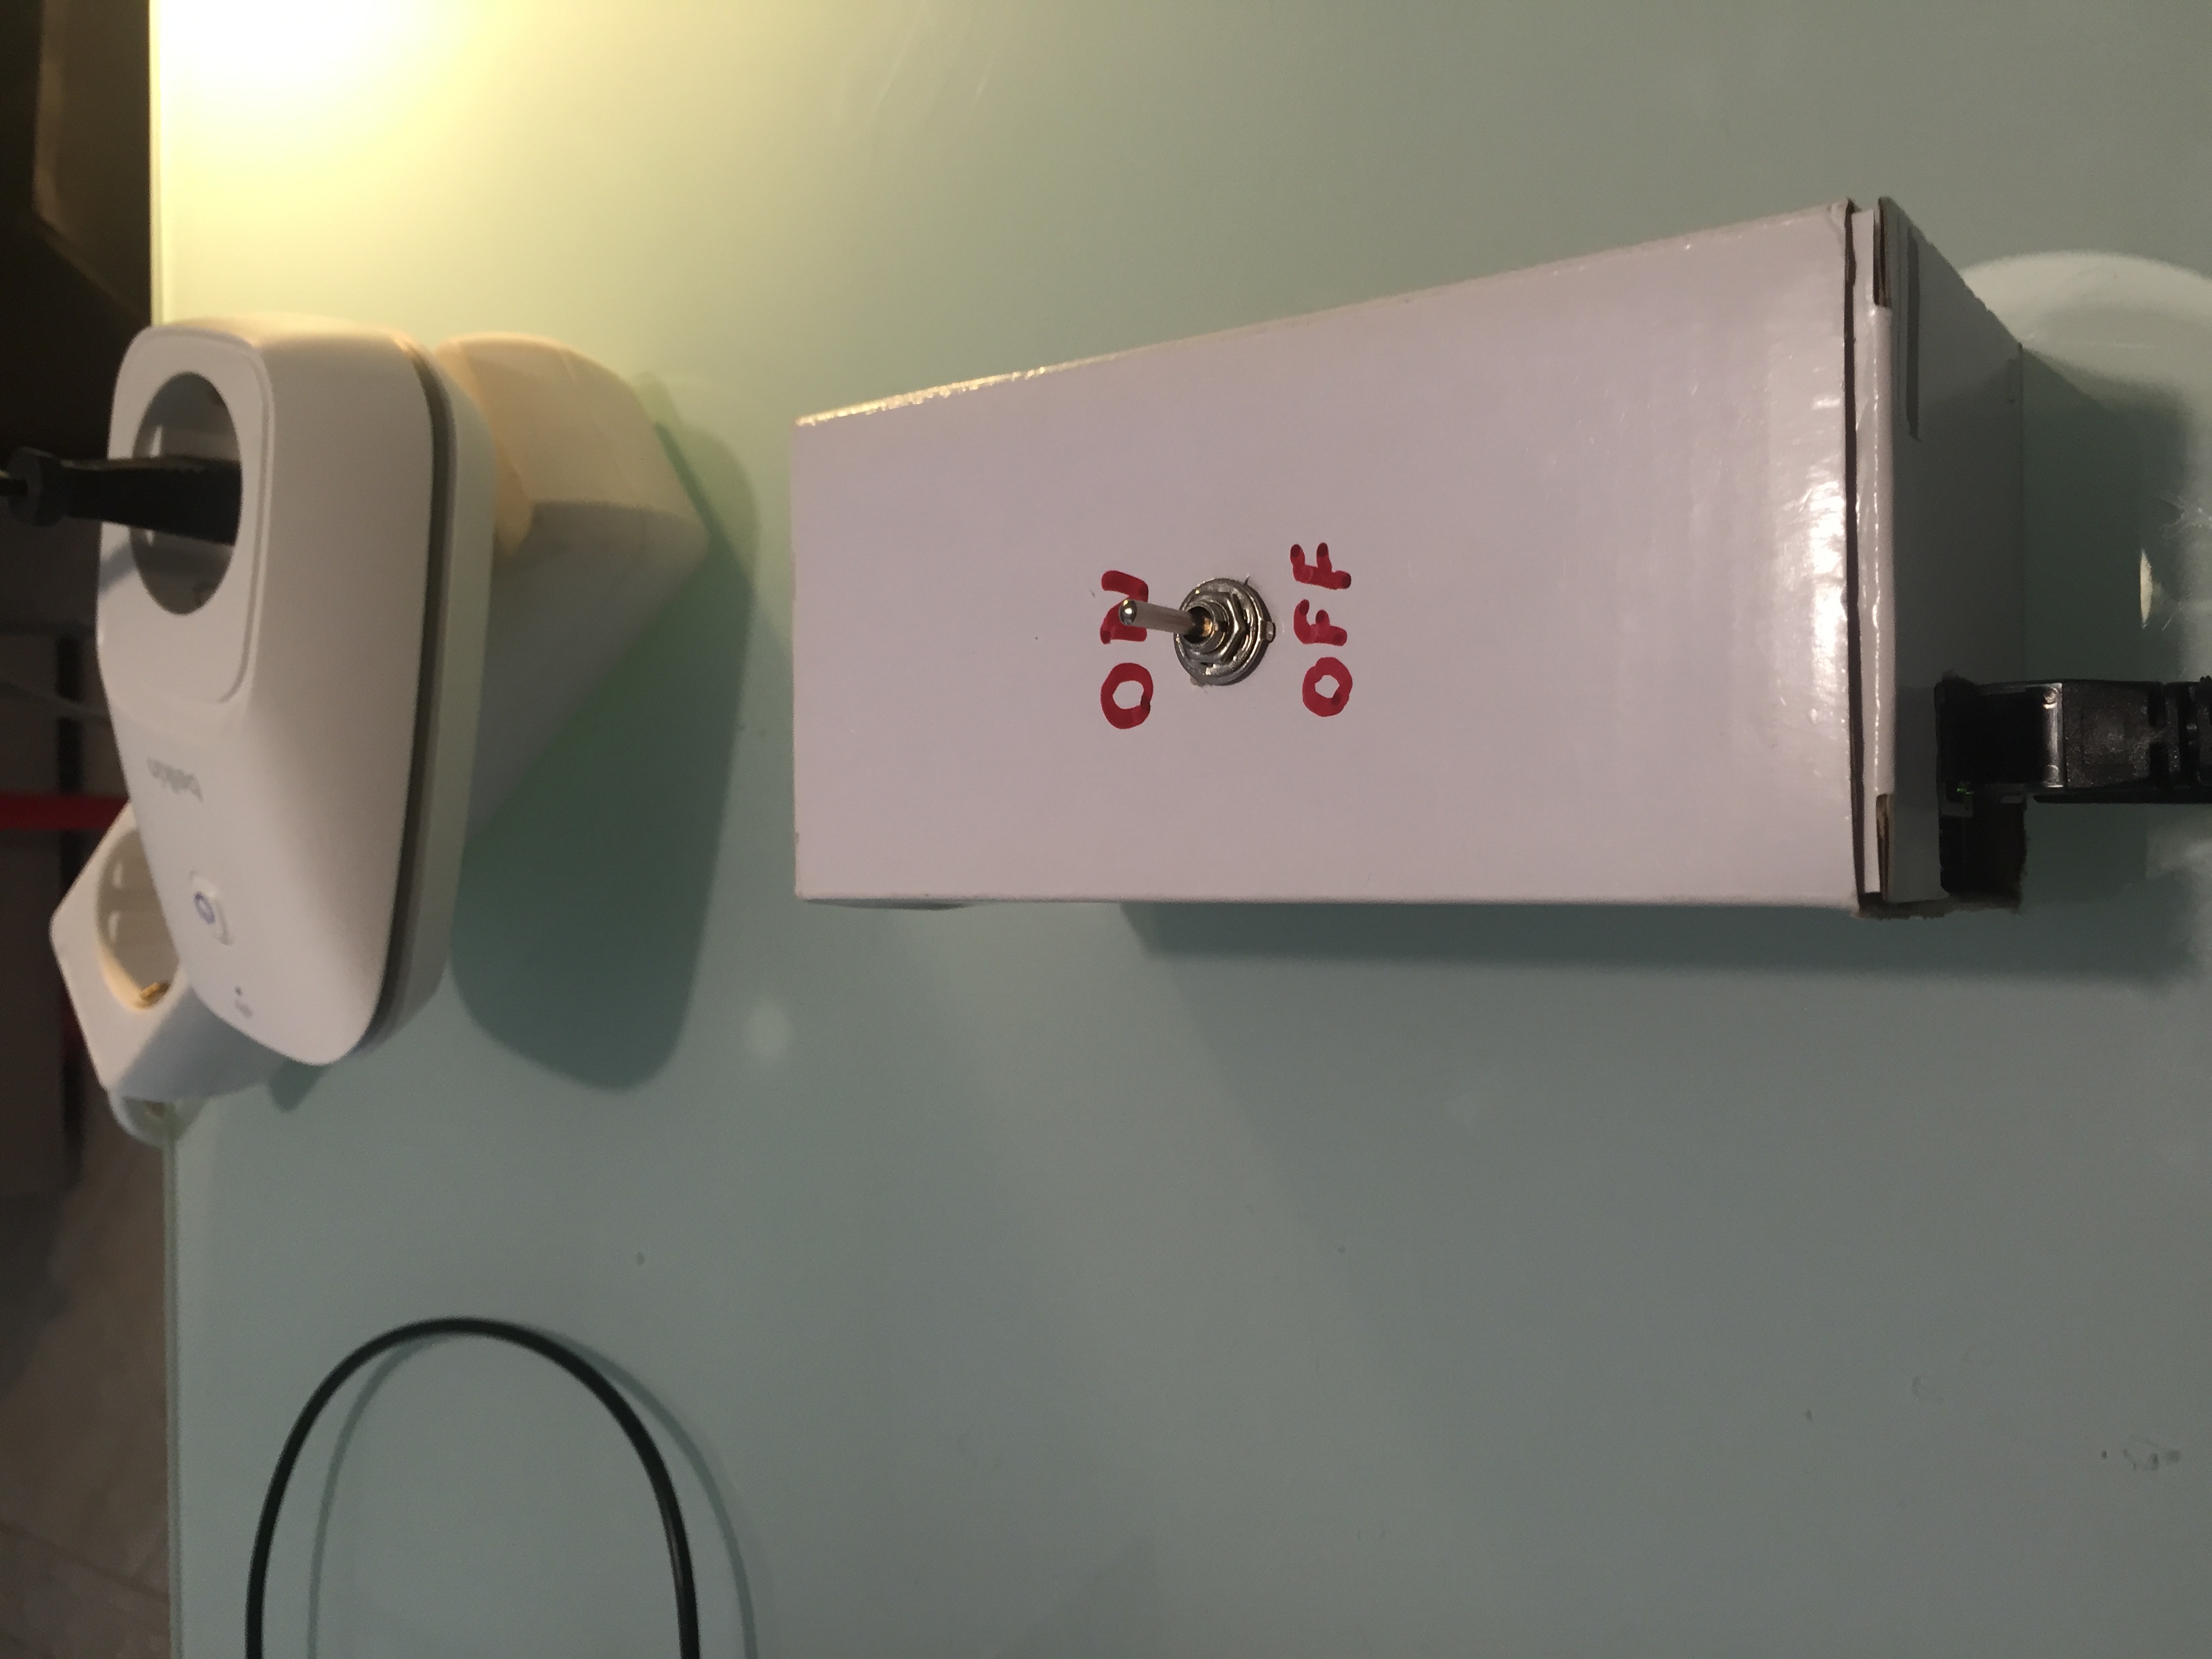
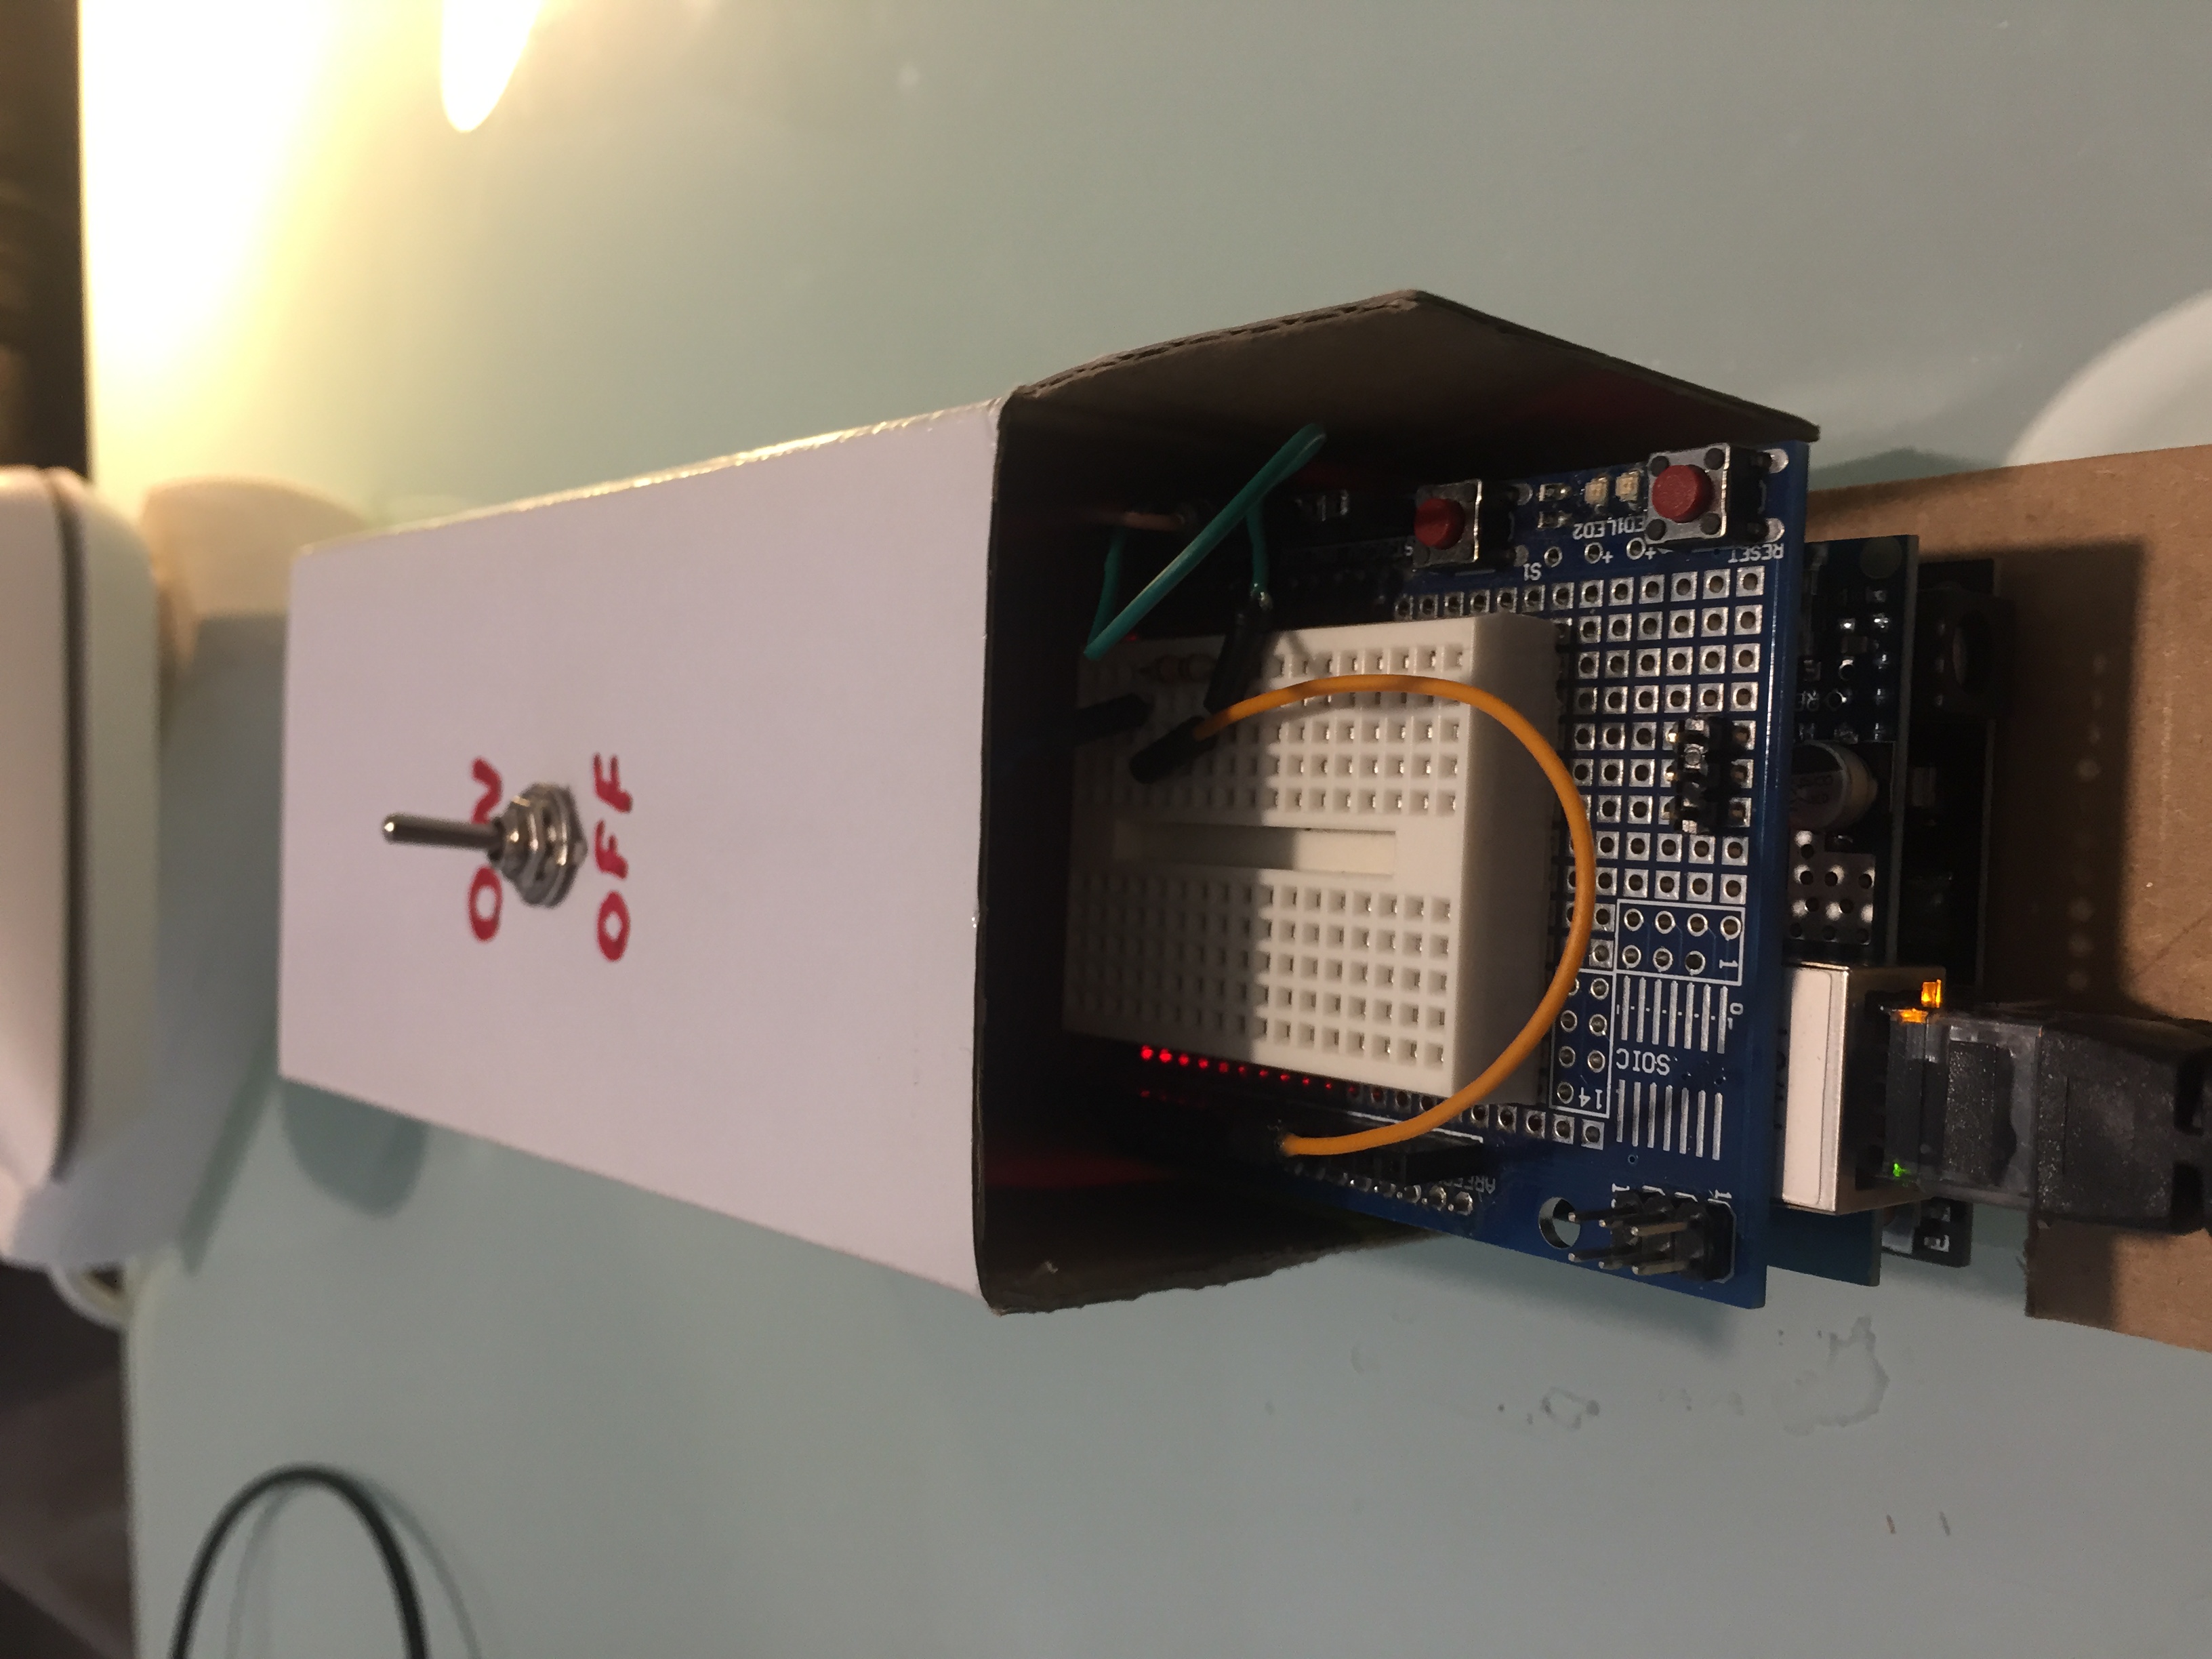
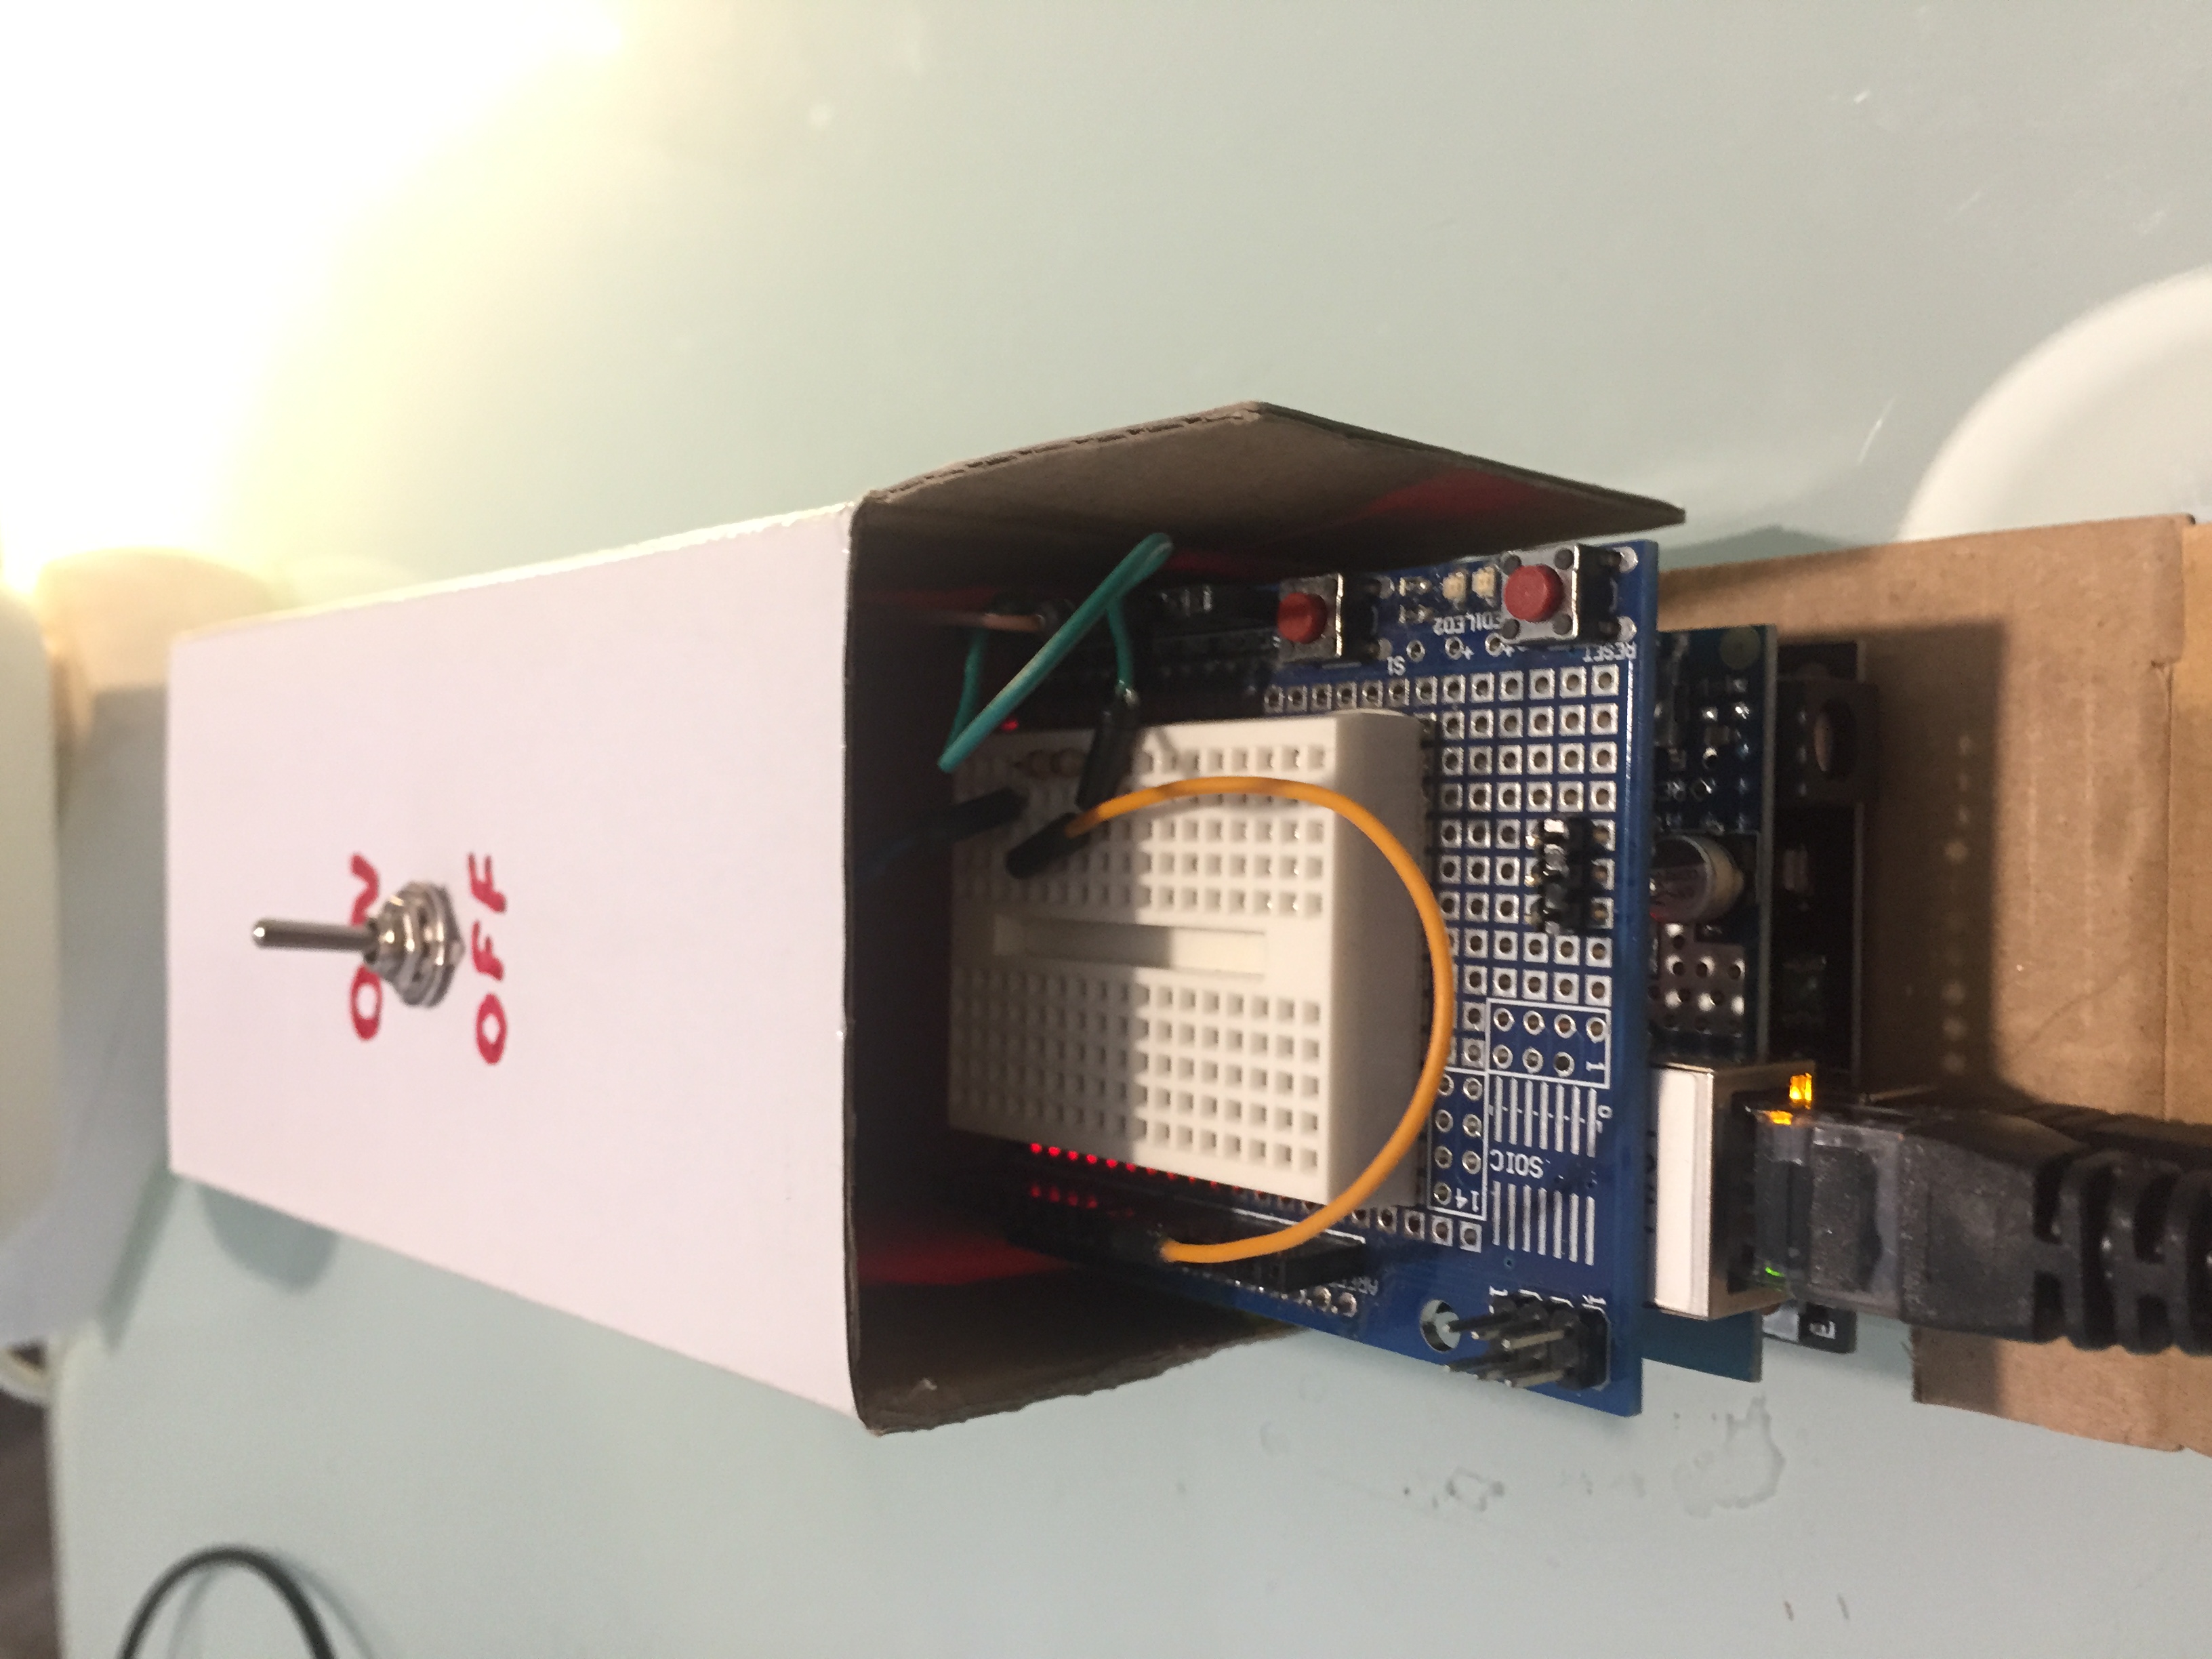
Making an ON/OFF switch for WeMo Switch with Arduino+Ethernet shield

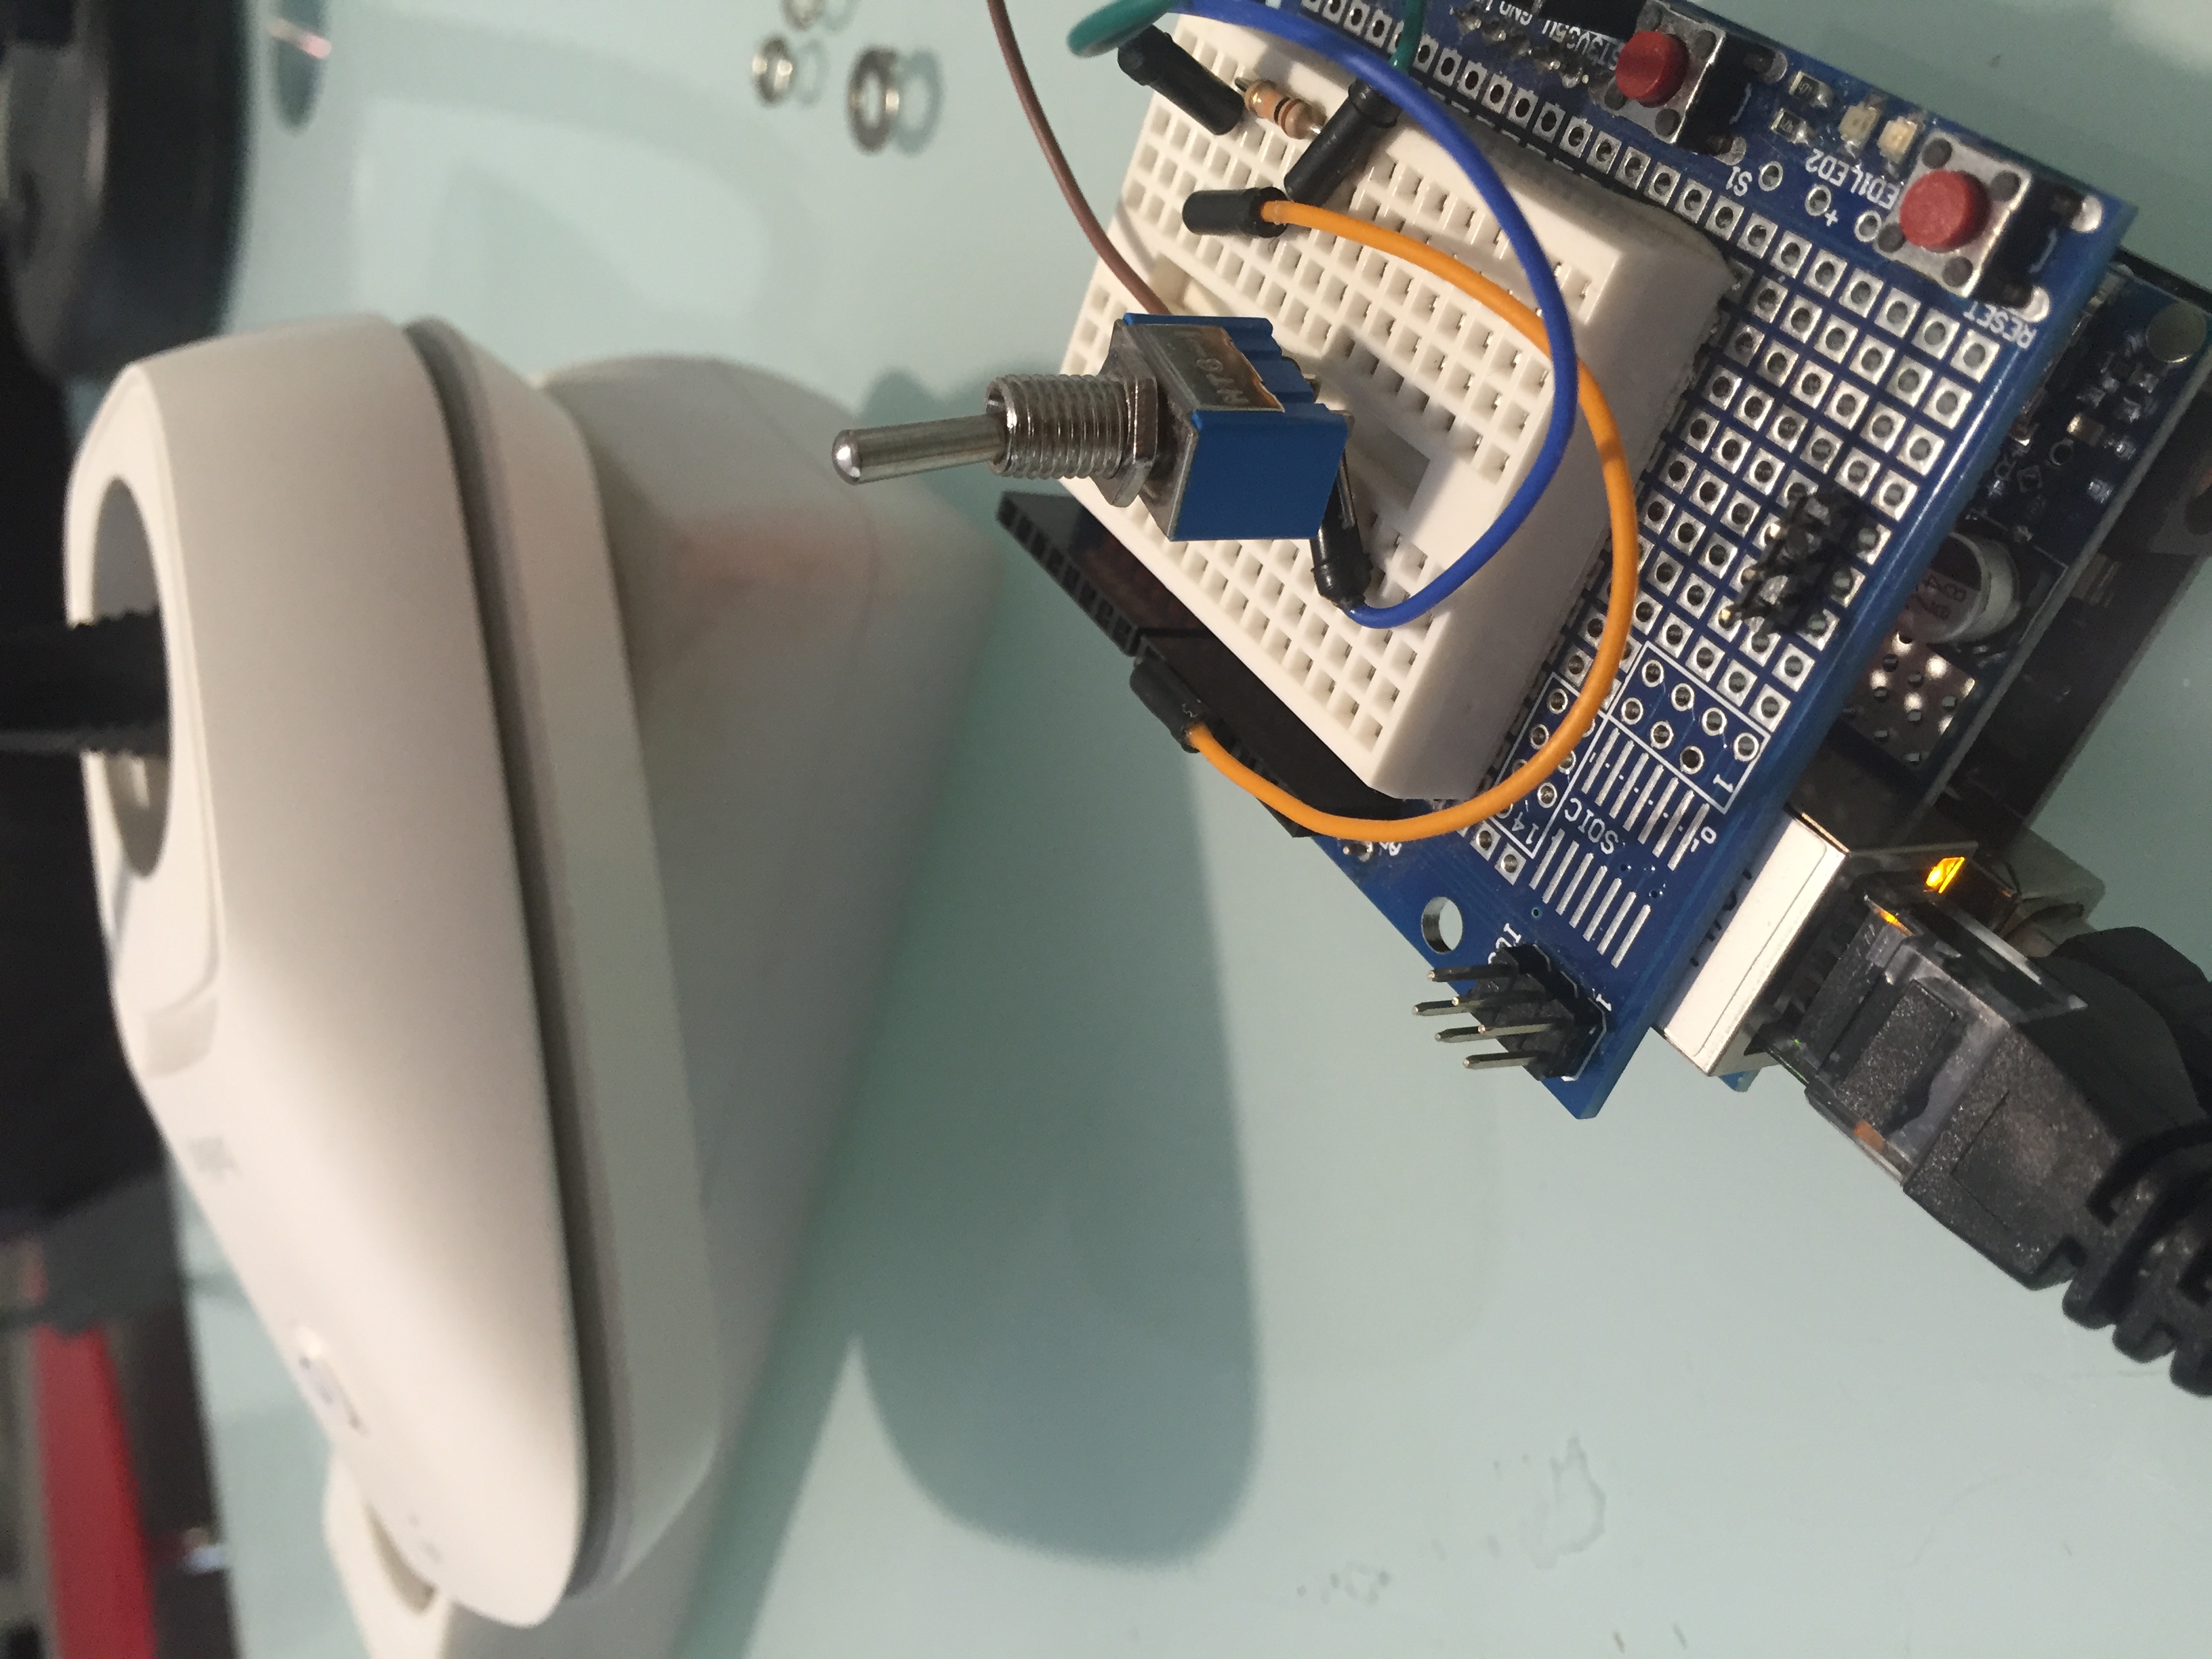
On this project I use an arduino uno with ethernet shield to control a Wemo Switch with a On-Off switch.

For this project you need:

  1. Arduino uno
  2. Arduino ethernet shield
  3. ON-OFF Switch
  4. 10k Ohm Resistor

Schematic

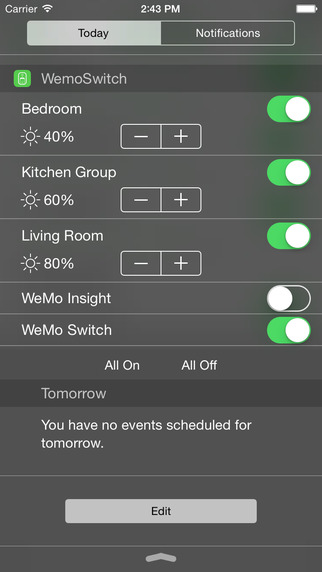
Arduino controls the wemo device over local network. When the status of the hardware switch changes, the arduino sends a SOAP call to the Wemo device to change the power status.

Here is the code for the Arduino:

(You need to change the wemoIP and wemoPort variables with ip/port of the wemo device)

New app! - LSwitch for LIFX

LSwitch is a Mac menu app that let you control your LIFX lightbulbs.
You can turn On or Off any device, set color and dim your lightbulbs.
You can also turn On or Off all devices by pressing a button or a custom keyboard shortcut.
The app will find automatically all your LIFX devices on your local network.

Compatible with firmware 2.0 or later.

Demo video

Available on Mac app store ($4.99):
https://itunes.apple.com/app/id1020253359?mt=12

Screenshots and contact form: 
http://www.gtrigonakis.com/lswitch/

Use Export for iTunes with SanDisk Clip Sport MP3 Player

To transfer playlists to SanDisk Clip Sport you need Export for iTunes version 1.8 or later. 

Version 1.8 has a new option to add Windows line endings (CRLF) to playlists file (m3u). If you use the default line ending of Mac OS X (LF), Clip Sport cannot read correctly the playlist file.

New Line endings option on advanced export options

You also need to export m3u file in the same folder with music files (mp3s). So you need to enable "Save m3u file in the same folder with tracks" option.

Transfer playlists and albums from iTunes to Sansa Clip+ MP3 Player

SanDisk Sansa Clip+ MP3 Player is #1 best seller mp3 player on Amazon. It's small, inexpensive, and has many features: microSD card slot, FM tuner, voice recorder. Sansa clip can play MP3, WMA, WAV, FLAC, Ogg, Audible formats but does not support AAC files. Lack of AAC support is a problem if you want to transfer music from iTunes.

Export for iTunes app is the simpler solution to transfer iTunes music and especially iTunes playlists and albums to a mp3 player like Sansa Clip.

On next video I'm demonstrating how to use Export for iTunes to transfer your music.

Some notes:

  • Sansa Clip does not supports AAC files so you need to enable: "Convert to MP3" on export options.
  • To load correctly the m3u playlist file, the music files (mp3s) and the playlists file (m3u) must be in the same folder to do this go to Advanced export options of the app and choose Save music files to: Playlist folder or Music files folder, and enable the option "Save m3u file in the same folder with tracks".